Import your D2L Brightspace Course Into Canvas Manually
Managing your own migration provides the flexibility to bring only the content you need into Canvas. Once migrated, you can identify which assets can be used as-is and re-build any modules or content that did not migrate well. Follow the steps below to complete your course setup.

Request a Course Shell
Before building your course in Canvas, you need to obtain a new course shell by completing the Course Shell Request Form. Be sure to choose Canvas Request at the top of the form!
Note: This course shell will not be accessible to students but will be used to develop your course materials before the "live" course is created in Canvas.

Prepare and Export Content From D2L
To minimize the time needed to adjust your course in Canvas, we recommend that you "clean up" it before exporting it. Use the Pre-Migration Checklist to guide you through these adjustments.
Once you've completed the checklist, follow either the Export Content from D2L Video Tutorial or the Export a Course Written Tutorial to export your course from D2L Brightspace.

Navigate to Your Canvas Course
- Log in to Canvas at https://montana.instructure.com/login/saml.
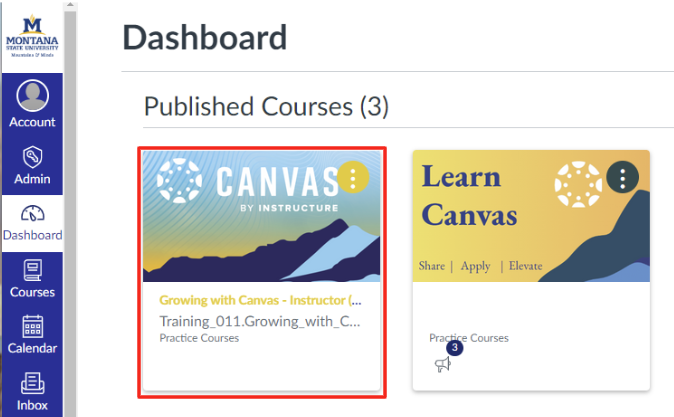
- When you log in, you will be in your Canvas dashboard.
- Select the desired course by clicking on the course card.
Note: You may not see all your courses right away, depending on where we are in the migration schedule. All courses migrated for you will appear by July 2025.


Update Your Homepage Template
Each new course shell will feature an MSU-branded Homepage. This default homepage includes a banner and a designated area where instructors can share essential details about themselves and the course. Please refer to the Update Your Homepage Tutorial for guidance on personalizing your homepage.

Import, Review, and Organize Content in Canvas
The time required to import your course content from D2L Brightspace into Canvas will vary depending on the size and features used. The Import Content into Canvas Video Tutorial will guide you through each step to ensure a successful transition. For a full written tutorial, visit the How to Import Content Written Tutorial.
Keep in mind that some content may not transfer exactly as expected. Use the tutorial steps and the Post-Migration Checklist to identify and adjust any areas that need attention before publishing your course.
When you are ready, organize your content.

Create New Content
Some migrated content elements may not transfer well and will require rebuilding. Canvas offers a versatile toolkit for creating new content, including pages, assignments, discussions, quizzes, links, documents, and external tools.
Canvas Content Tutorials
Use the links below to the webpage and video tutorials to learn more about each content
item.

Set Up the Gradebook
Each assignment's grades can be calculated as points, percentages, complete or incomplete, pass or fail, GPA scale, and letter grades. Assignments can be organized into groups for weighting. Only graded assignments, discussions, quizzes, and surveys published are shown in the Gradebook. “Not Graded” assignments will not be shown.
To get started, review the written Gradebook Tutorial or the Gradebook Video.
Weighting Grades
You can organize your graded Canvas activities into groups such as "quizzes" or "homework." When you select this option, you assign a weight to the assignment group rather than to individual assignments. Canvas calculates the grade by dividing the total points a student has earned by the total possible points for all assignments in that group.
For detailed instructions, refer to the Weight Your Gradebook Tutorial or Video.

Copy Course
Next Steps
Canvas and ATO provide a variety of live training courses and webinars. Visit our Training Calendar Page to view and sign up for upcoming sessions.
Additionally, explore our On-Demand Resources page for links and information about Canvas live training, content-specific courses, and instructor-focused videos and guides.


