
Recording a Classroom Lecture with Panopto
Step 1: Log in
- Open the Panopto Desktop Recorder with the Panopto icon on your desktop.

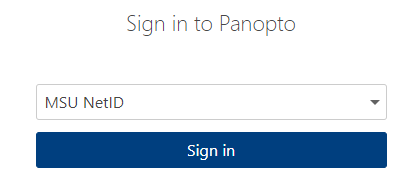
- Click Sign in, which will open the Panopto login page in a browser window. Ensure the dropdown
menu says MSU NetID and click Sign in.
- On the MSU login page, enter your NetID and Password and click Login. Note: you may or may not get a popup stating that “This site is trying to open Panopto Recorder.” If so, click Open.
Step 2: Set up your session
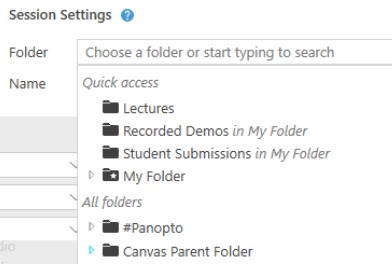
- In the Session Settings window, name your recording and select the appropriate folder. To record directly
into your Panopto library, select My Folder. If you are recording this lecture into a course folder set up through Canvas' Panopto External Learning Tool, click on the arrow next to Canvas Parent Folder and select the appropriate course.
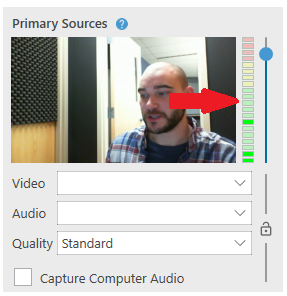
- In the Primary Sources window, select the appropriate video and audio inputs. If you do not wish to record
your video, click on the dropdown menu next to Video and select None. If you are speaking at the podium and do not see any movement in the green, yellow,
and red volume bar, click on the dropdown menu next to Audio and select a different input. If you intend to show a video or play an audio file
in class, check the box next to Capture Computer Audio.
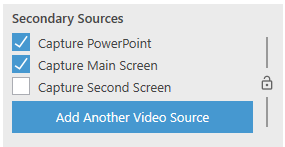
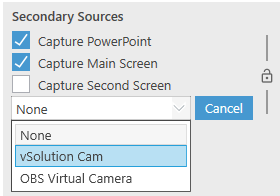
- In the Secondary Sources window, you may select any additional inputs that are available in your room, for
example the document camera or an additional classroom camera. Click Add Another Video Source and then click the dropdown menu to select the input.
Step 3: Record
- Click on the red Record button in the upper left corner to begin your recording.
- When you are finished, click on the Panopto icon in the taskbar at the bottom of your
screen.

- Click the red Stop button to end your recording.
Step 4: Upload
- In the Recording Complete popup window, you have the option to enter a description and then can begin the upload process by clicking Done.
- You may now Sign out of the classroom computer. Panopto will finish uploading your recording in the background.
Note: do not shut down the computer as it will prevent your upload from finishing.